Tackling a DIY project is one of the most satisfying ways to refresh your home and learn new skills along the way. Weekend DIYs can range from simple fixes to creative pieces of furniture, but having the right tools can make or break your experience. With a well-equipped toolbox, you’ll save time, avoid frustration, and create high-quality results. This guide dives into essential tools every weekend DIYer needs to know about, covering their uses and offering helpful tips for getting the most out of your gear. Whether working on wood, metal, or minor repairs, these tools will keep you ready for anything your next project throws your way.
1. Measuring and Marking Tools
Accurate measurements are the foundation of every great DIY project. Relying on guesswork increases the likelihood of mistakes, which can waste materials and your time. Measuring and marking tools simplify the process and ensure you’re working with precision.
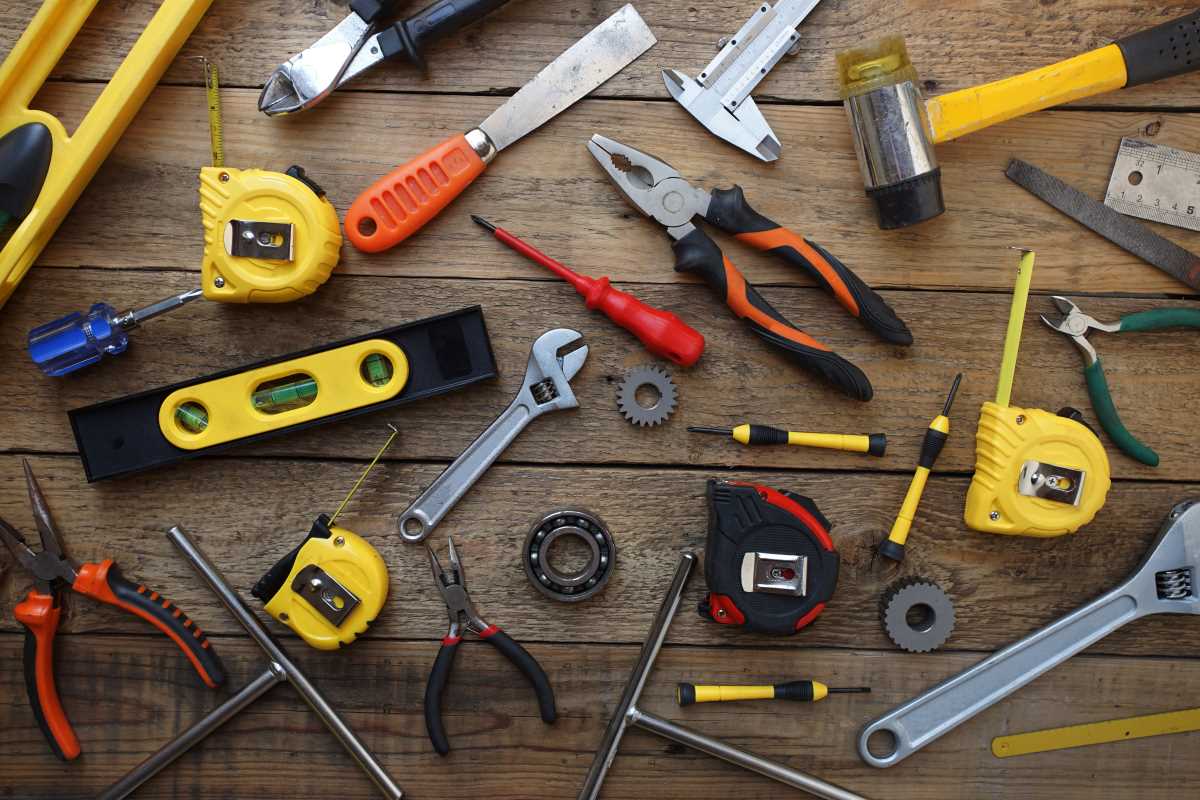
- Tape Measure: A sturdy 25-foot tape measure is a must. Use it for measuring everything from lumber to room dimensions.
- Speed Square: This triangular tool doubles as a straightedge and a protractor, helping you make precise angle cuts or straight measurements on wood and other materials.
- Carpenter’s Pencil and Chalk Line: A pencil for standard marking and a chalk line for marking long, straight lines are your best friends when drawing cut lines.
Practice measuring at least twice before cutting to ensure accuracy. The saying “measure twice, cut once” exists for good reason.
2. Cutting Tools
Cutting is unavoidable in many DIY projects. The tools you need depend on the materials you’re working with, but general-purpose options can tackle most jobs.
- Utility Knife: A sharp utility knife is versatile and perfect for trimming, scoring, or opening packaging. Always keep spare blades handy as dull ones lead to uneven cuts.
- Hand Saw: For small woodcutting tasks, a hand saw is fast, lightweight, and doesn’t require a power source.
- Circular Saw or Jigsaw: Power saws take on heavier cutting needs. Circular saws are great for straight cuts, while jigsaws handle curves and intricate designs on wood, plastic, or metal.
Always wear safety goggles when cutting. Power saws create debris that could easily injure your eyes.
3. Fastening and Assembly Tools
Building something from scratch or fixing an existing piece usually involves fastening components securely. Tools for this category even help you disassemble items, expanding your DIY capabilities.
- Screwdrivers and Screw Gun: A basic set of screwdrivers (flathead and Phillips) is essential for all tightening and unscrewing. A cordless screw gun adds speed and convenience, especially when assembling furniture.
- Hammer: A claw hammer can tackle everything from nailing a picture frame to light demolition. Look for a size that’s comfortable to hold, ideally with a rubber grip for better control.
- Power Drill and Bits: A cordless drill is arguably the most versatile power tool for DIY projects. Use it to drive screws, drill holes, or even mix paint with the right attachment. Consider getting a bit set that includes options for wood, metal, and masonry.
Use pilot holes (small starter holes drilled before screwing) to make driving screws easier and reduce splitting, especially in wood.
4. Sanding and Smoothing Tools
Rough edges and surfaces are often part of the DIY process. Smoothing materials are important, particularly for painting, assembling furniture, or creating wooden decor.
- Sandpaper: A variety pack of sandpaper in different grits (ranging from coarse 80-grit to smooth 220-grit) is perfect for light sanding or heavy material removal.
- Orbital Sander: For larger projects, a power sander saves time and energy, delivering smooth finishes on wood, plastic, or metal surfaces.
Always start with a lower grit (coarser) to remove rough edges, then transition to higher grits for fine polishing.
5. Painting and Finishing Tools
One of the most common weekend DIYs is revamping something with paint or stain. The right tools ensure an even application, reducing mess and creating a professional look.
- Paint Rollers and Paintbrushes: Use rollers for large surfaces and brushes for detailed or edge work. A 2-inch angled brush is particularly useful for corners and trim.
- Painter’s Tape: Quality painter’s tape creates crisp lines and prevents paint from bleeding onto the wrong areas.
- Drop Cloth: Protect floors or furniture with a reusable fabric drop cloth or disposable plastic sheets.
Clean your brushes thoroughly after use. A well-maintained paintbrush will last through multiple projects.
6. Clamping and Holding Tools
DIY often involves holding objects together temporarily while measurements are made, glue dries, or screws are tightened. Proper holding tools keep everything secure and aligned.
- C-Clamps: These handy tools hold materials steady during gluing or sawing tasks. Invest in a few different sizes for versatility.
- Bar Clamps: Larger projects, such as assembling wooden furniture, benefit from bar clamps that apply even pressure across a wide area.
Padding the clamp surface with scraps of fabric or cardboard prevents damage to the material you’re working on.
7. Safety Gear and Miscellaneous Tools
DIY work can quickly turn messy or hazardous. Safety tools not only protect you but also create a cleaner, more efficient workspace.
- Safety Glasses and Gloves: Protect your eyes from flying debris and your hands from splinters, hot materials, or sharp edges.
- Toolbox or Tool Belt: Keeping your essentials in one organized place saves time and frustration. A wearable tool belt is useful for projects requiring mobility.
- Multi-Tool: A pocket multi-tool contains pliers, mini-screwdrivers, and small knives, making it ideal for quick, unexpected fixes.
Budget for quality safety gear. Prevention is cheaper than dealing with accidents later.
8. Planning and Layout Tools
Every successful DIY project starts with a solid game plan. Layout tools help organize your workspace, align materials, and ensure nothing important is overlooked.
- Level: A bubble or laser level ensures your shelves, frames, and other projects stay perfectly straight.
- Stud Finder: Wall-mounted projects, such as shelves, require mounting on studs for stability. A reliable stud finder identifies hidden beams in seconds.
Label all your layout marks lightly so they can be erased, painted over, or hidden as the project progresses.
 (Image via